Loading interactive content…
Understanding Supplier Confirmation & VCC
A standalone application is available for Tourplan customers to be able to offer their supplier the ability to:
-
Confirm services via a link in the Tourplan Supplier message
-
Optionally generate a Virtual Credit Card (VCC) which the supplier can be paid by.
Both external suppliers and internally contracted rates can be paid using Virtual Credit Cards (VCC). These processes, though different, require the submission of a completed Client VCC Request Form
How do we set up VCC?
You will need to have an account with a third-party VCC provider and provide your credentials to Tourplan to configure your VCC connection.
Your organisation will be required to:
-
Make an enquiry with your local Tourplan support office to initiate VCC setup and to see if the external supplier connection you use is configured to support VCC payment.
-
Obtain a third-party VCC account - For Tourplan to configure your VCC connection, you will need to have account credentials for a third-party provider.
-
Note: WEX is currently the only third-party VCC provider supported by Tourplan.
-
Submit a VCC Support Request - Supply the third-party VCC provider credentials and required settings to your local Tourplan Support office via a VCC Support Request. (for more information please see Understanding the Client VCC Request form)
-
Map the VCC Connection to External Product - To enable VCC payment for an external supplier, a connection to the adapter is entered, and a payment guarantee mapping is required in the existing External Supplier Note and Product Note areas of Tourplan.
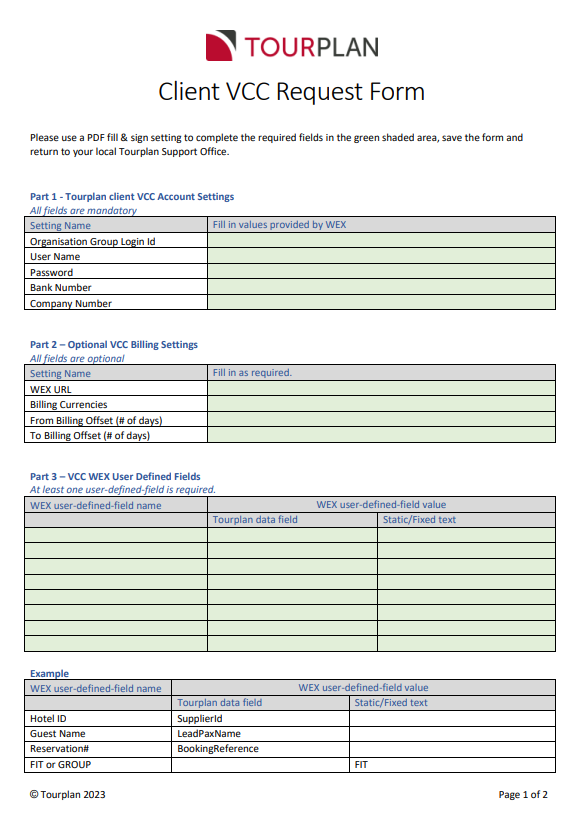
NOTE: Your Tourplan support office will provide you with a Client VCC Request Form to complete.
The information required includes:
-
Your Account Details – These are mandatory credentials issued by the third party VCC Provider (WEX).
-
Optional VCC Billing Settings.
-
Billing Currency - For each purchase and payment via VCC, there is a Cost Currency and a Billing Currency with the transaction amount.
-
The cost currency is the currency associated with the cost of the product to be paid by the purchaser and is always the service cost currency.
-
The billing Currency is the currency you instruct WEX to bill you in. This is an optional setting, and if not configured, the Billing Currency Value will default to the cost currency.
-
-
Billing Offset (From-To) - You can define the period that a VCC is valid for. These settings control how many days before and after the service date the VCC is valid for. If no value is set, then WEX will determine the default active period.
-
-
WEX User Defined Fields – You must define at least 1 User Defined Field. There is a maximum of 15 fields that can be used to pass additional information for each VCC payment. You are required to list the name of the field(s) and the Tourplan Data Field you require Tourplan to pass to WEX.
Setting Up VCC in Tourplan
Once you have completed the request form and received confirmation from your local Support team, you can begin setting up your Tourplan system. As part of the setup process, you will also complete your Virtual Credit Card (VCC) configuration and supplier confirmation to ensure seamless connectivity and payment processing.
Configure Supplier Confirmation URL
A System INI Setting called SUPPLIER_CONFIRMATION_URL specifies the URL for the Supplier Confirmation application, for example:
http:/machinename/instance/supplierconfirmation/#/supplier_confirmation.
NOTE: The URL Must always in /#supplier_confirmation
Configuring INI Setting for VCC
-
From the Home menu, select
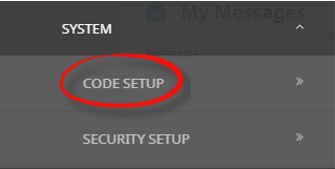
 Home > System > Code Setup.
- Click the Home menu to expand it:

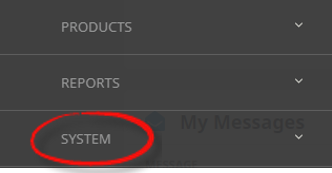
- Click the System menu option to expand it:

- Click Code Setup to go to the Code Setup menu:

- Click the Home menu to expand it:
-
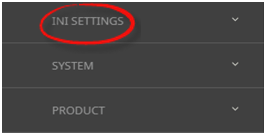
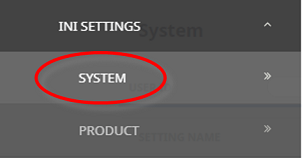
From the Code Setup menu, selectINI Settings > System.
- Click the Code Setup menu to expand it:

- Click INI Settings to expand the INI Settings menu:

- Click System to open the System INI Settings screen:

- Click the Code Setup menu to expand it:
-
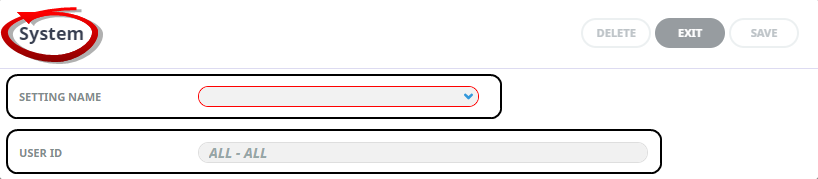
On theSystem screen, if the INI Setting that you want is not already in the list, click Insert.

-
In theSystem screen, select a Setting Name and User ID.
-
ClickSave to keep the changes.

-
ClickExit to discard any changes.


Verify a Supplier Confirmation Application
To verify a supplier confirmation application (as working) you will need to
-
Open a web browser.
-
Enter the URL used in the SUPPLIER_CONFIRMATION_URL System Setup INI Setting, adding: ?token=123 appended to the end of the URL for example: http://machinename/instance/supplierconfirmation/#/supplier_confirmation?token=123
NOTE: If the supplier confirmation application is correctly installed and working, an error page will apear stating that the link is either expire or invalid.
Activating Supplier VCC
To enable the supplier as a VCC Payment Supplier. Configure the VCC connection details within the Creditor Analysis Tab.
Activate Creditor VCC
-
If the Creditor to which details are to be added does not exist, create the supplier first (see Creating New Creditors).
-
If the Creditor does exist, search for and retrieve it, so that supplier details are displayed on the screen (see Retrieve an Existing Creditor).
-
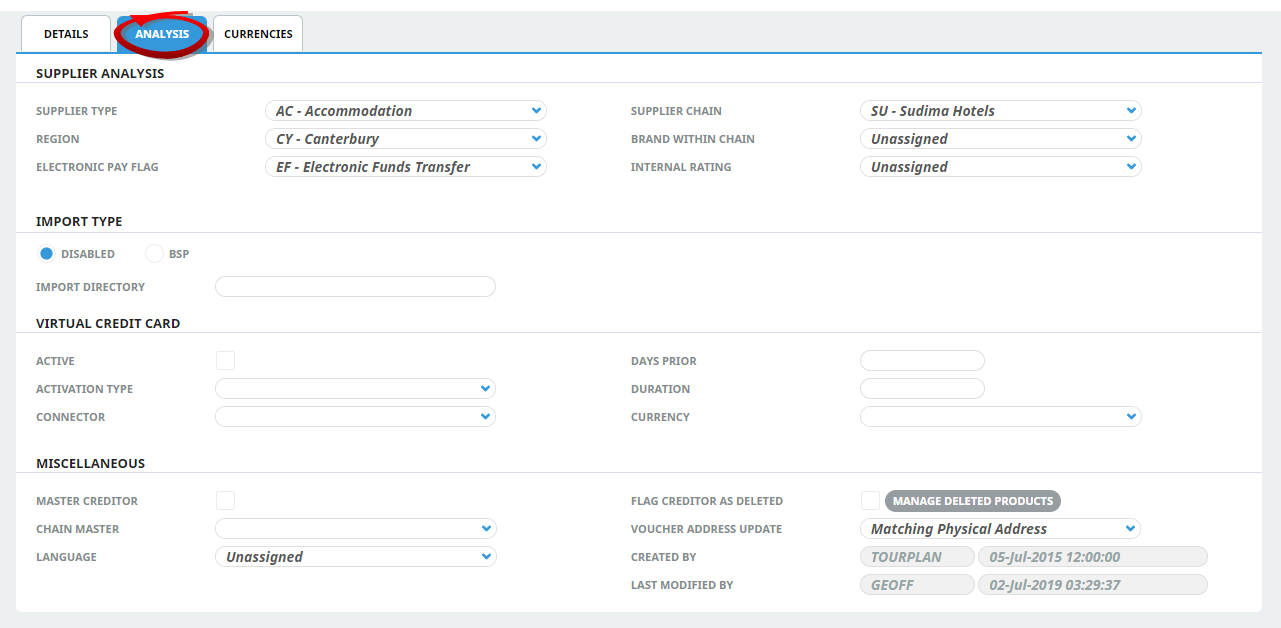
Click theAnalysis tab.
-
Check the Virtual Credit Card 'Active' checkbox.
-
Select the Activation Type, and Connector.
-
Enter the Days Prior and Duration settings.
-
Select the Currency.
-
To keep the changes, clickSave.

-
ClickDiscard to discard all changes.

About VCC Fields
This check box selection will activate a VCC payment option for this supplier.
NOTE: This field works in conjunction with other system settings. The VCC functionality will not operate solely on this activation selection.
Activation Type
There are three options available which determine the Virtual Credit Card activation date.
-
Immediate - as soon as the service is booked.
-
Check In Date - the first date of service.
-
Check Out Date - the last date of service.
Connector
Details a pre configured Connector Code and Connector Name available from the dropdown selection.
Days Prior
Defines the number of days before the activation date the card becomes valid.
Duration
Defines the number of days the Credit Card is active for.
Currency
Determines the currency the VCC transaction will use.
Setting up Supplier Messages for VCC
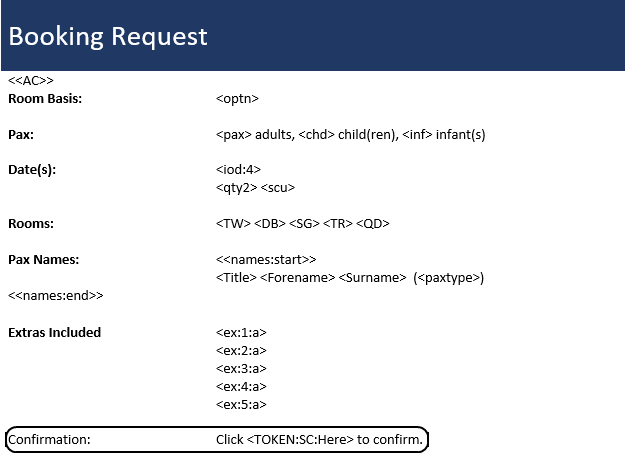
A messaging subsitution code is used to generate a hyperlink to a Supplier Confirmation Application when the supplier message is sent.
Insert the substitution code <TOKEN:SC> into your chosen message definition, for example: For example: 'Click <TOKEN:SC:here> to confirm'
Insert VCC Substitution Code
-
From the Home menu, selectHome > System > Code Setup.
- Click the Home menu to expand it:
- Click the System menu option to expand it:
- Click Code Setup to go to the Code Setup menu:
- Click the Home menu to expand it:
-
From the Code Setup menu, selectMessaging > Message Definitions.
- Click the Code Setup menu to expand it:
- Click Messaging to expand the Messaging menu:

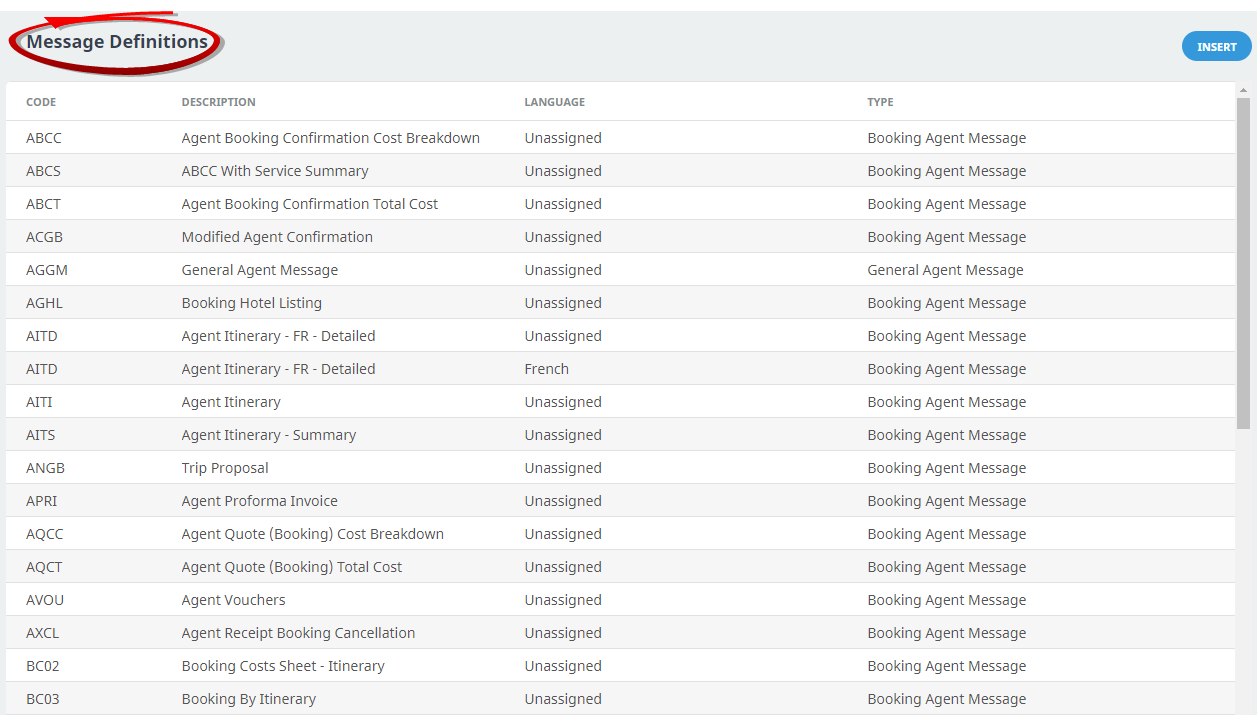
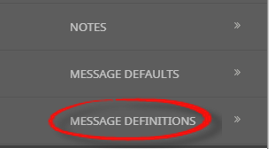
- Click Message Definitions to open the Message Definitions screen:

- Click the Code Setup menu to expand it:
-
On theMessage Definitions screen, select by clicking on the Supplier Message Definition, download to amend.
- Review the document.
-
If you want to keep the changes, clickSave in Word.

-
Return to the Tourplan NXMessage Definitions screen, re-select the Message Definition & Upload the changes.
Generating the message
When the message is sent from Tourplan, the supplier will receive a booking request with a hyperlink to the confirmation page where they can generate the VCC for the service.
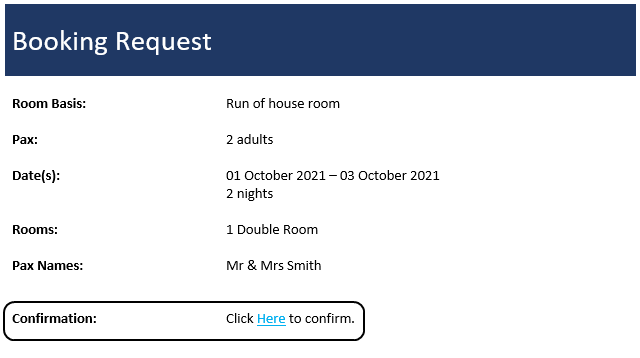
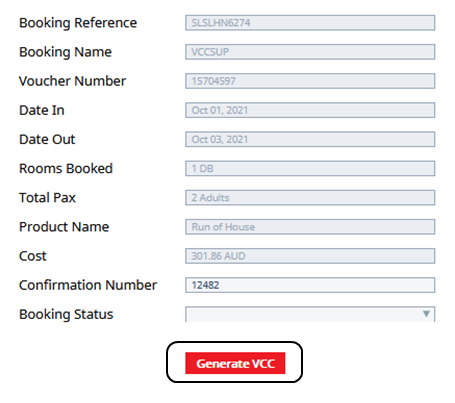
This will then direct the supplier to the confirmation page where they can click 'Generate VCC'
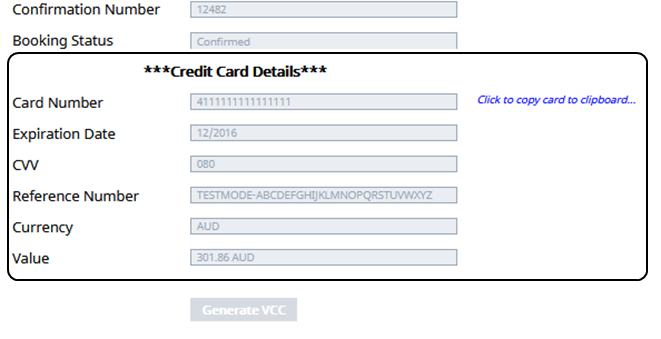
The Credit card details will populate.
Importing WEX Payment Information into Tourplan for Invoices
Payment data can be downloaded from WEX for Tourplan bookings. Your accounts staff can then manually access the WEX Portal, and download a 'payment list'. This data is provided in a CSV format and will include the following information for each payment:
-
Tourplan Booking Reference
-
WEX VCC Transaction Reference
-
Tourplan Booking Name
-
Transaction Date
-
Currency
-
Amount
The supplier invoice import function will allow this information to be matched with the relevant Tourplan booking services, and an AP invoice is created for the supplier.
- Amounts don't match between the outstanding expected cost in Tourplan and WEX amount
- Booking Reference not found in Tourplan NX
- WEX VCC transaction reference not found in Tourplan NX
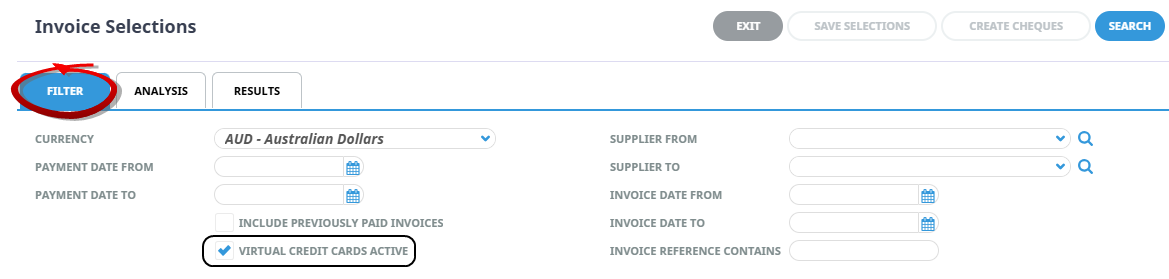
Accounts Payable/Create Cheques
The Accounts Payable > Create Cheques > Invoice Selections 'Filter Tab' has an additional check box 'Virtual Credit Cards Active' . When checked, outstanding invoices for creditors with VCC 'active' will display.