Loading interactive content…
Bulk Messaging allows messages to be sent in bulk to suppliers, and messages selected can be sent from multiple PCMs. Concurrently, the status of the services where messages have been sent can be updated.
NOTE: Bulk Messaging will not suit all companies. This function is typically used where supplier messaging is consolidated (either by user or company) to output at specific times or at the end of day.
The selection criteria of frequently sent messages can be saved and recalled. If saved, a list will display when the Supplier Messaging menu is selected. Frequently used filters can be copied and saved from within the Bulk Supplier Messaging screen.
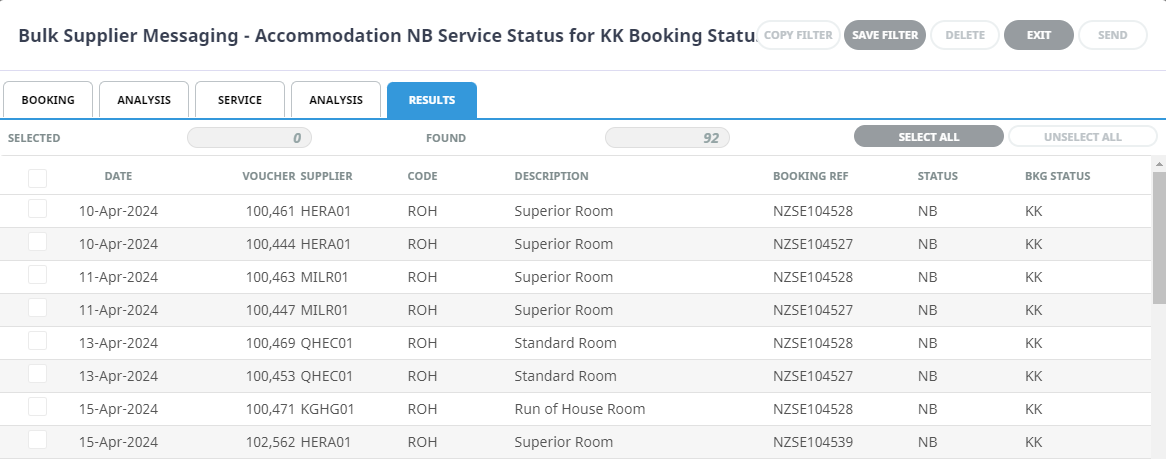
For example, with this supplier message we wanted to send bulk messages for a selection of PCMs to secure group pricing for the selected dates of service for the PCM. The system has filtered the PCMs that meet the requirements of service status and PCM status. Now individual selection or select all can be chosen.
NOTE: The service status and booking status used in this example may differ from your company's service status.
After the user has selected the services the supplier requests are to be sent to, a document message format can be selected. Bulk supplier messages are generated and a status can be selected for the services to be updated to.

Field selections also allow the message content to be consolidated by Supplier, Master Supplier, PCM, Single Document.
Create Manual Supplier Messaging Filters and Send Messages
-
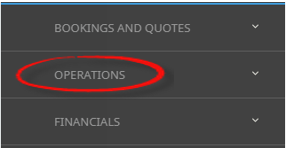
From the Home menu, select
 Home > Operations > Bulk Documentation > PCM Quotes > Supplier Messaging.
- Click the Home Menu to expand it:

- Click the Operations menu option to expand it:

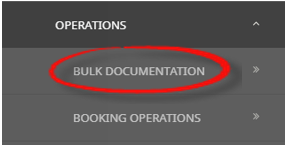
- Click Bulk Documentation menu option to expand it:

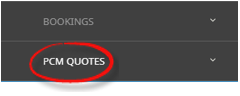
- Click PCM Quotes menu option to expand it:
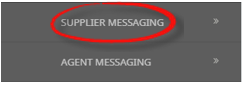
- Click Supplier Messaging to open the Supplier Messaging screen:

- Click the Home Menu to expand it:
-
ClickManual.

- On the blank Bulk Supplier Messaging - Manual Selection screen, the Service Tab will open, select the required filters from the field selections available within the PCM Tab, Analysis Tab (PCM and Agent), Service Tab and the Analysis Tab (Supplier and Product).
View Supplier Messaging Filter Selections to learn more about all the field selections available, or view the individual tab filters: PCM Tab, Analysis (PCM ), Service, Analysis (Supplier and Product), Results.
NOTE: There are two tabs with the heading Analysis, the Analysis Tab on the left refers to the PCM or Agent Analysis field selections, whereas the Analysis Tab on the right refers to Supplier and Service Analysis field selections.
-
Check thecompleted screens.
-
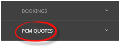
Click on theResults Tab. Select the services using the Selected check boxes next to each service, or use Select All.
-
To send the messages, clickSend.

-
ClickExit to discard any changes.

-
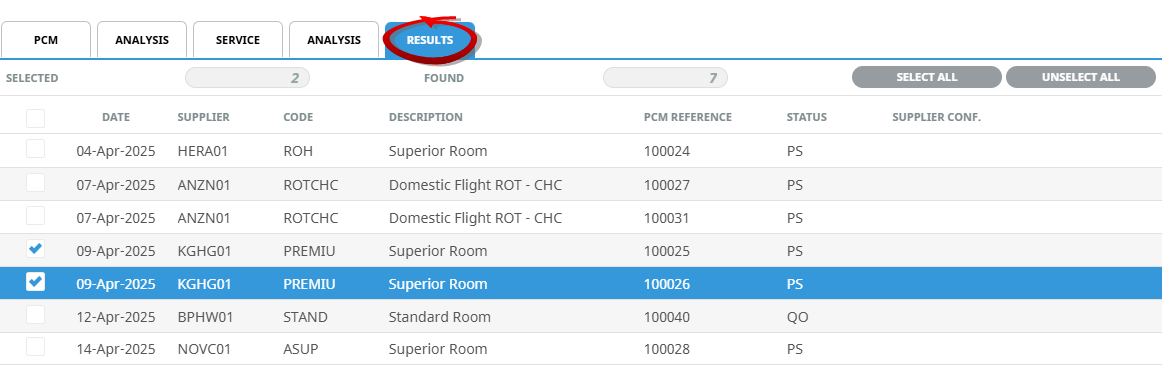
If Send is clicked, theBulk PCM Supplier Messaging screen will display. Select the Document Format, click the radio button for how the messages are to Consolidate By.
-
To update Service Status, click theUpdate Status check box, and select the required status code from the drop-down.
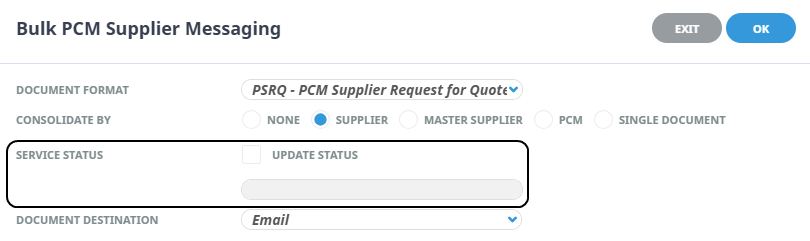
NOTE: This messaging example has been configured to use email as a Document Destination, select the Document Destination Required.
-
ClickOK to keep the changes and save or update the entry.

-
ClickExit to discard any changes.
-
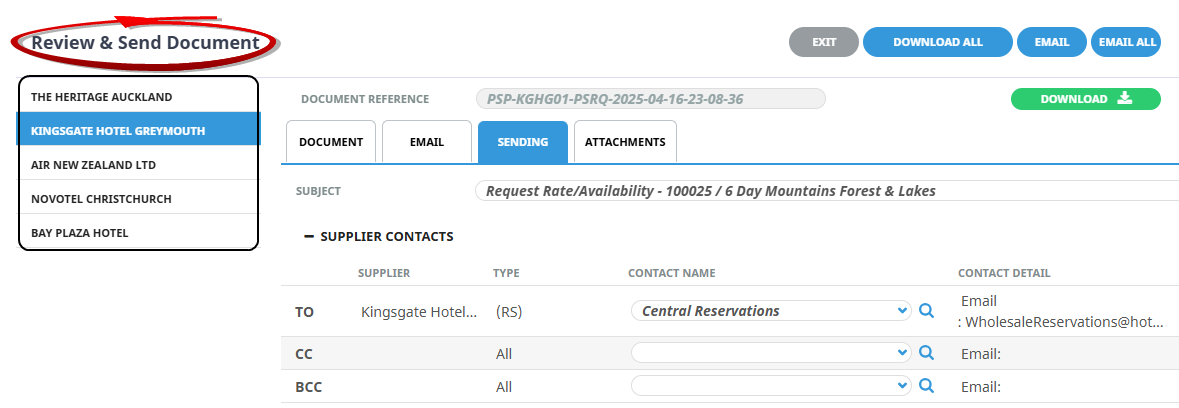
If OK is clicked, theSend & Review Document screen displays and a full list of the services selected will show on the left of the screen.
-
TheSending Tab will open if the Email and Sending tabs were activated when the message template was setup to send as an email. The Sending tab allows you to view the email text that will be sent and the contact name and address the email is sending to.
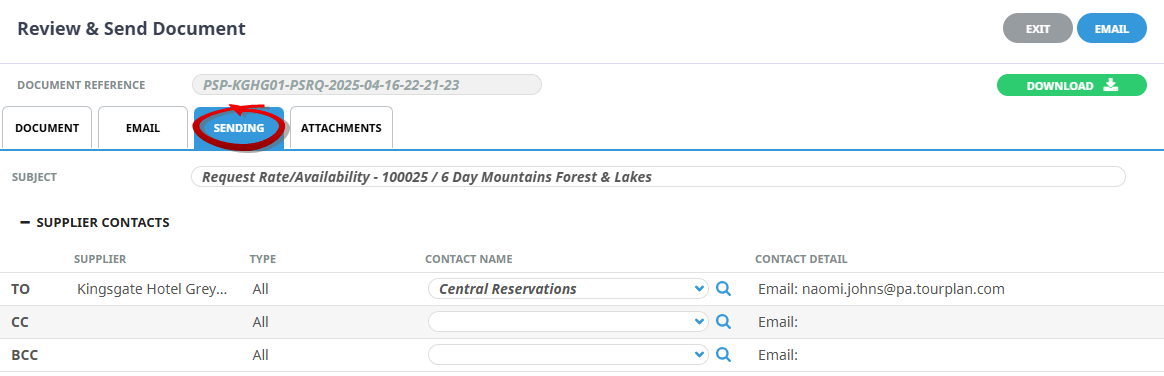
NOTE: A contact will default from the coding in the message template, however an alternative contact name can be selected using the drop down arrow. The options for CC, and BCC are also available. A list of Contact names attached to the Supplier will display in a dropdown, or an alternative (or manual contact) email address can be entered using the search button.
-
On theDocument Tab, you can examine the generated document or Download it.

NOTE: A document can be downloaded from any of the tabs within Review & Send Documents.
Download will open the document in Microsoft Word. Any amendments made to the document in Word will not be saved unless the document is uploaded back into Tourplan. -
On theAttachments Tab, click Add to add additional attachments to send with your email.
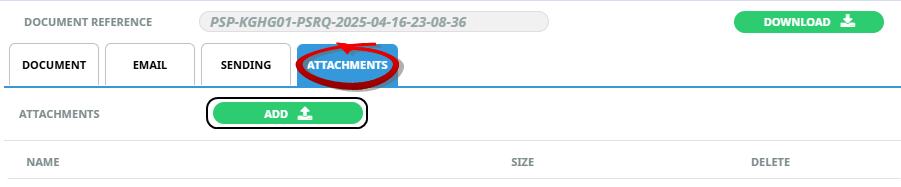
NOTE: If the Message Template has been configured to send attachments, a list of attachments will show on screen.
-
ClickEmail to send the document.

NOTE: 'Email All' will only be available if each listed service has an email address allocated.
-
ClickExit to discard any changes.

About Bulk Supplier Messaging Filters
Filter selection combinations are dependent on user's company's requirements. Selection of any filter combinations will return results in the Results Tab.
There are 4 Tabs that include field filter selections:
- PCM Tab.
- Analysis Tab (PCM Analysis).
- Service Tab.
- Analysis Tab (Supplier Analysis).
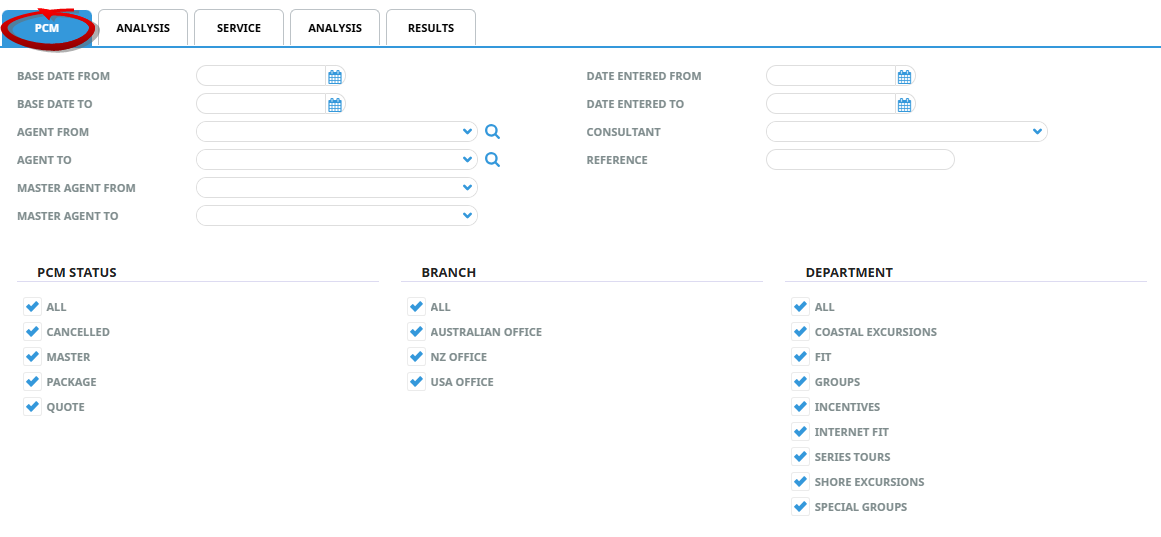
PCM Tab
Base Date From/To
Used to select PCMs with a specific, or range of, base dates of the services to be selected.
Agent From/To
Used to select services with a specific, or range of, agent(s) codes in the PCM header matching the selection.
Master Agent From/To
Used to select PCMs with a specific, or range of, Master Agent code(s) in the PCM header matching the selection.
NOTE: When a Master Agent (or range of Master Agents) is entered in these fields, Tourplan will find PCMs where the Agent(s) have the Master Agents attached to them. When searching on the Master Agent field, the Agent field should be left blank.
Date Entered From/To
The PCM entered date(s) of the services to be selected.
Consultant
The consultant code attached to the PCM.
Reference
The reference attached to the PCM that messages are to be output from. This field will only accept the actual reference number, the Branch/Department components of the PCM reference are selected from the PCM Branch and Booking Department multi select boxes.
PCM Status
By default, all PCM statuses are checked and PCMs that have that status will be selected. Un-check statuses that are not required.
Branch
By default, all branches are checked and services in PCMs that have those branches will be selected.
Department
By default all departments are checked, services in PCMs that have those branches will be selected.
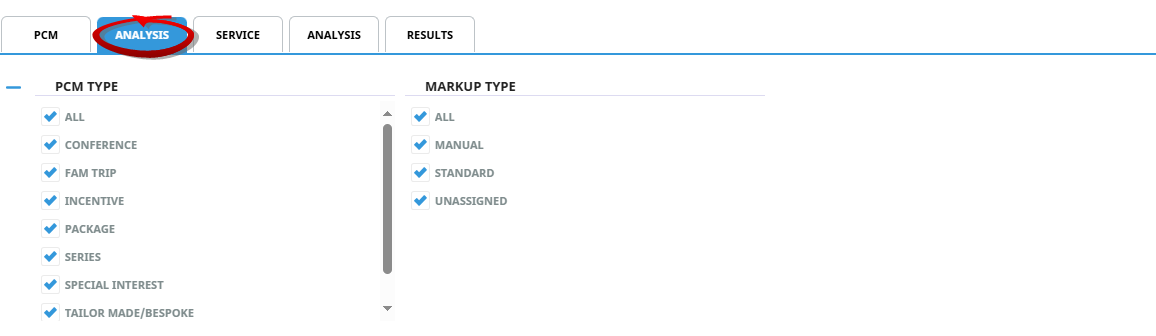
Analysis Tab (PCM)
PCM Analysis
The top two rows of this tab are the 6 PCM Analysis codes. These are PCM header level selections.
NOTE: The label descriptions and analysis selections used within this User Manual will vary and will display what has been setup in each user's company's system.
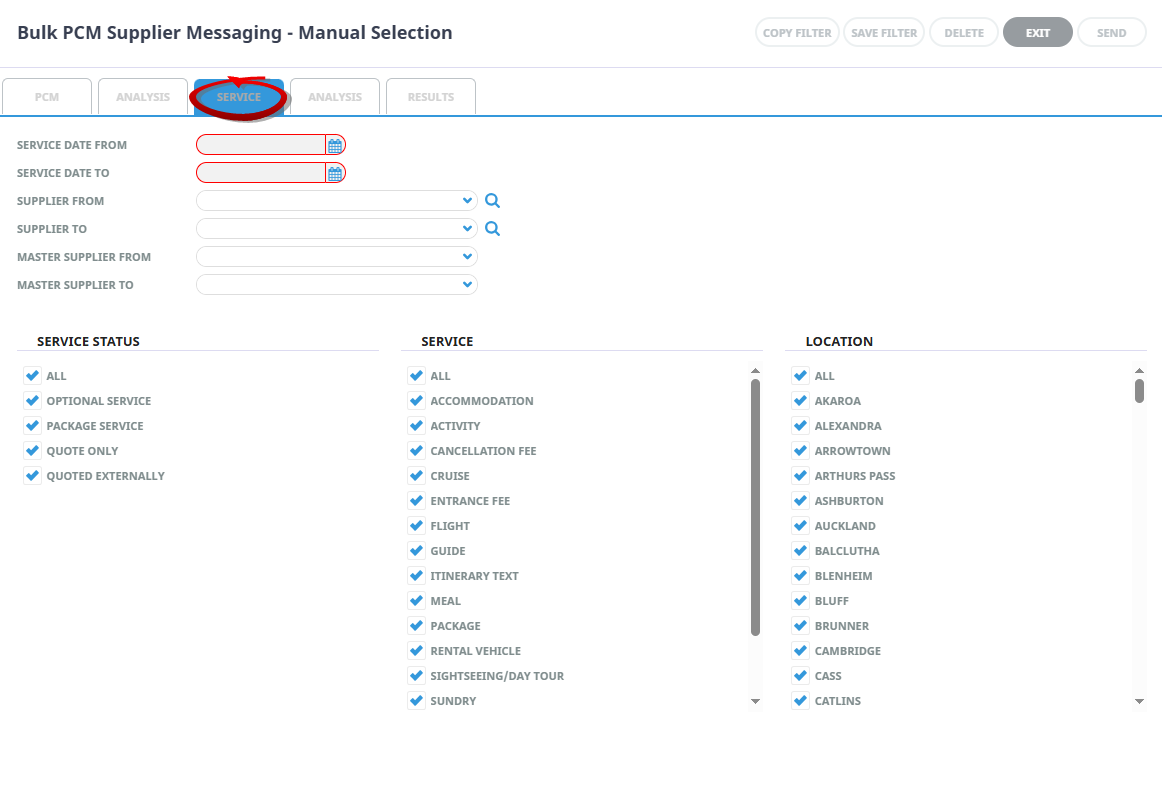
Service Tab
Service Date From/To
The service date(s) of the services to be selected.
Supplier From/To
Used to select services with a specific, or range of, supplier code(s) matching the selection.
Master Suppler From/To
Used to select services with a specific, (or range of ) Master Supplier code(s) matching the selection.
NOTE: When a Master Supplier (or range of) Master Suppliers is entered in these fields, Tourplan will find those services whose supplier(s) have the Master Suppliers attached to them. When searching on the Master Supplier fields, the Supplier fields should be left blank.
Service Status
By default, all service statuses are checked and services that are this status will be selected. Un-check those statuses that are not required.
Service
Used to select services with a specific, (or range of) service code(s) matching the selection.
Location
Multi select checkboxes are used to select services in a specific location. (By default All checkboxes are selected).
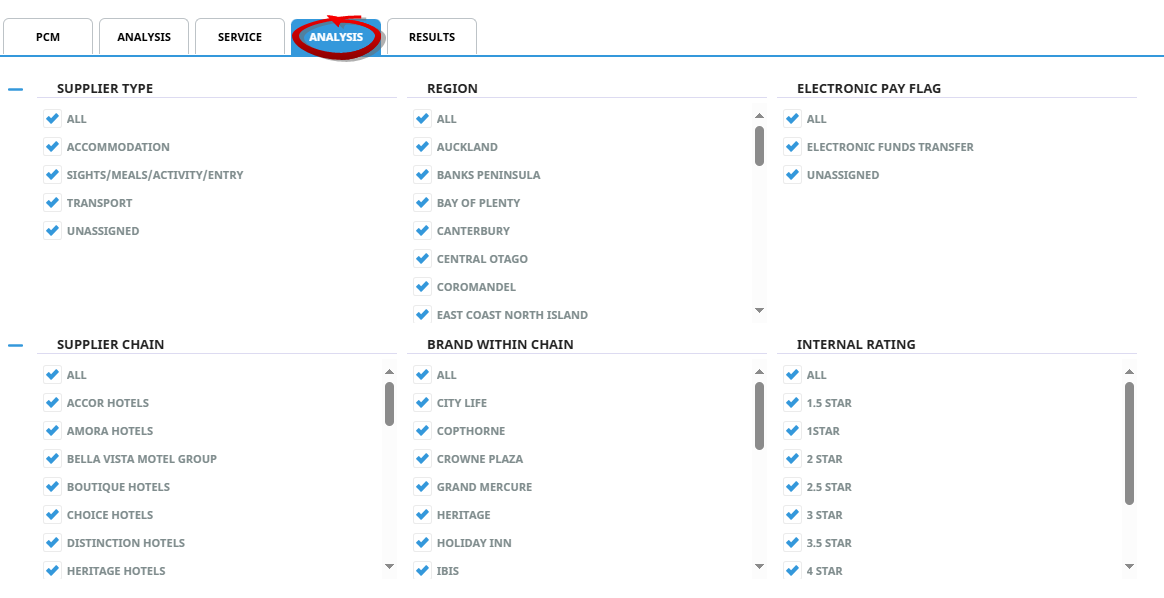
Analysis Tab (Supplier Analysis)
Supplier Analysis
The top two rows of this tab are the 6 Supplier Analysis codes. These are Supplier level selections attached to the service.
NOTE: The label descriptions and analysis selections used within this User Manual will vary and will display what has been setup in each user company's system.
Results Tab
Selected
The cell to the right of this heading will provide you with the number of PCM services that have been selected.
Found
The system will provide you with the number of services found, matching the filter criteria.
Select All/Unselect All
Select all services found, or un-select all services selected.
Column Headings
Users can customise their column headings by clicking on the header row, or can amend the order of results by clicking on the field heading, see About Changing Default Column Headings.
To view the available column headings in Supplier Messaging, see Bulk Documentation.
NOTE: The data can be sorted by any column by double clicking the column header. The order can then be reversed by double clicking the column header again.
Selected check boxes
Services can be individually selected.