Loading interactive content…
Itinerary text can be attached to a product, and is typically used for itinerary product, where the service does not hold a cost. Itinerary text allows one or more itinerary segments of pre-defined itinerary text (which can include graphics) to be attached to services.

NOTE: Itinerary text cannot display on Websites or in webConnect.
If you are using itinerary texts, the itinerary text must first be defined in Code Setup > Product > Itinerary for more information see the System Setup User Manual.
Add Itinerary Segments
- If the product to which Itinerary text is to be added does not exist, create the product first (see Creating Products).
- If the product does exist, search for and retrieve it, so that product details are displayed on the screen (see Retrieve a Supplier or Product).
-
When product details are displayed on screen, select menu
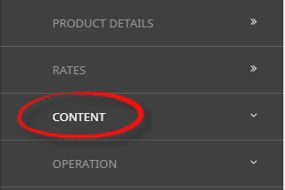
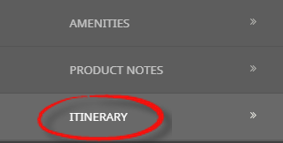
 Content > Itinerary.
- Click the Product Setup menu to expand it:

- Click the Content menu option to expand it:

- Click Itinerary to go to the Itinerary screen:

- Click the Product Setup menu to expand it:
-
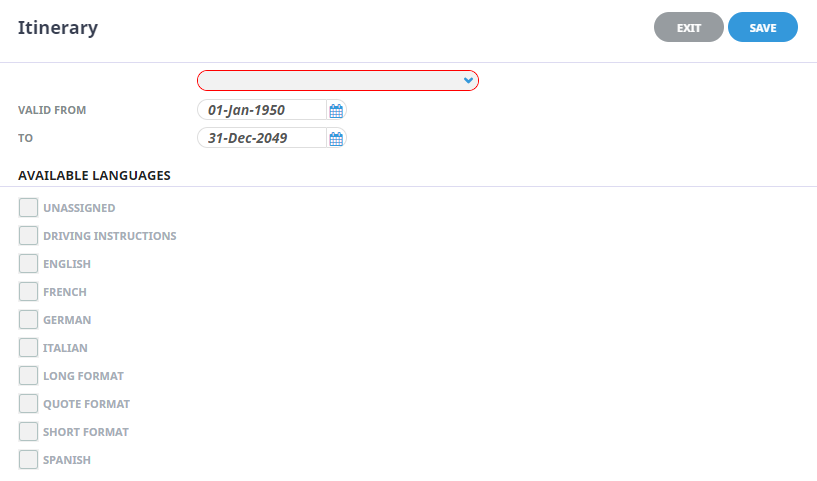
ClickInsert to add a new entry.

-
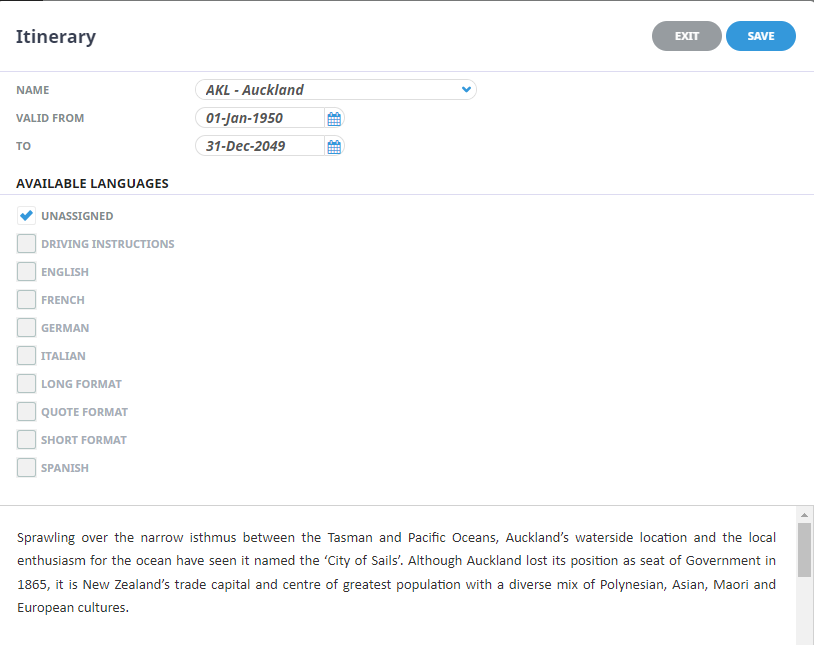
On theItinerary Note screen, enter a Name, select Valid From/To dates, the required Language and enter some notes into the rich text field.
-
Check thecompleted screen.
-
ClickSave to keep the changes.

-
ClickExit to discard any changes.


About Product Itinerary Fields
Name
Select a previously defined Itinerary Segment from the list.
Valid to and From
Dates can be selected for this itinerary text to display, allowing for specific itinerary text to display for set periods of time.
Available languages
If using multi language functions for your messaging, the language attached to this text in Code Setup will display in this field. The additional options are greyed out and only the available language options will display here.